
TIP-3000
Front Panel Decoration & Electronics
Ok, this is a long one. You might want to take this chance to get a cup of tea and a biscuit or something, cos this is going to stretch the limits of what I’m allowed in a single post… and the limits of what you guys will actually look at!
I’ll try and keep it straightforward: I always attempt to keep it to the smallest possible text & pictures with the maximum of information.1 This time, some stuff might get skipped. If there’s anything you want to see, or anything you need to know about, just ask me and I’ll include it in the next worklog update - which might be tonight.
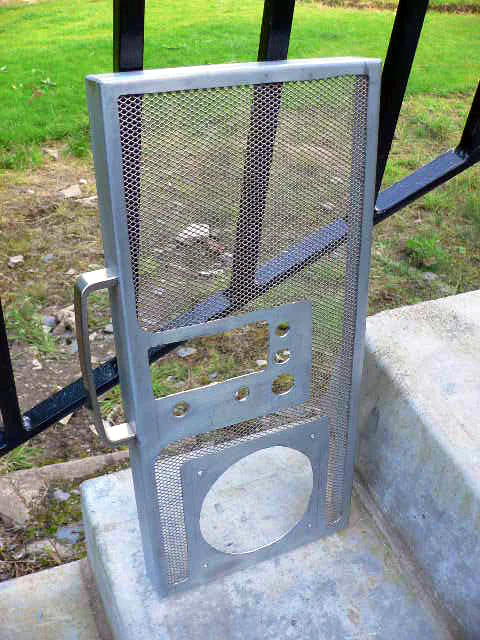
Ok, first up! I took the clamps off my front door frame and finished off one (just one for now) of my fan grills. It doesn’t look too bad at all, so my fears were somewhat unfounded it would seem.
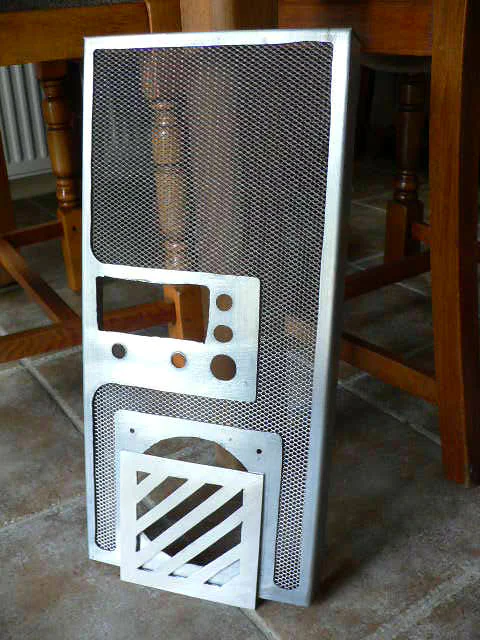
I’m glad the front’s going so well, the only major flaw is in the top right hand corner-you wouldn’t notice it unless I pointed it out to you anyway, I don’t think.
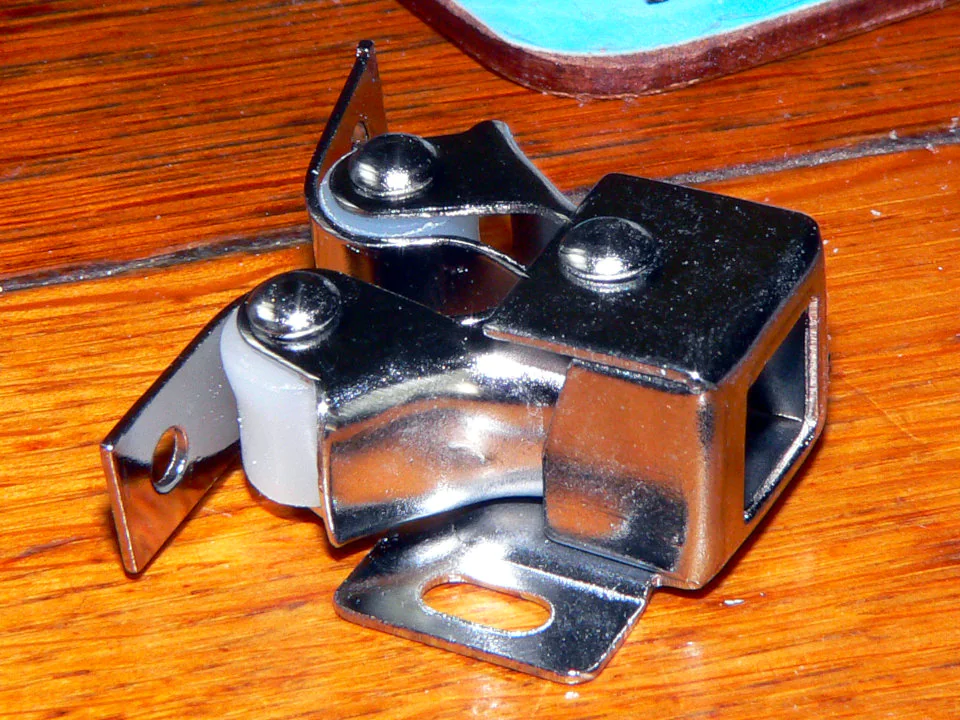
I have this little latch to hold the door closed.
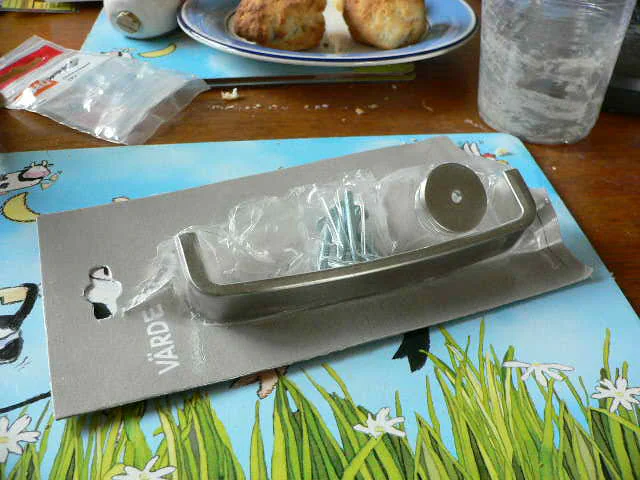
And I found this unwanted IKEA door handle lying around as well. I should get IKEA to sponsor this to be honest, I seem to use a lot of their stuff…
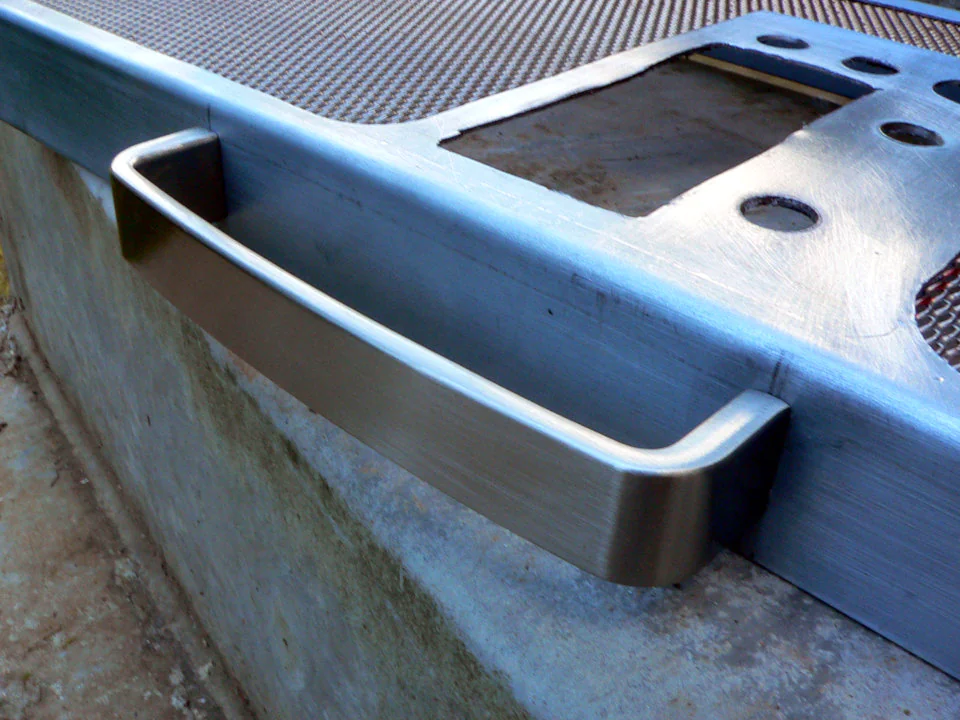
So with the help of my Dad (who reads this, and comes over to help me out from time to time) we installed the handle onto the side of the door. Which went a lot easier than I expected and looked better than I could hope. First up, a close up of the perfect fit…
…and a photo of the door with the handle.
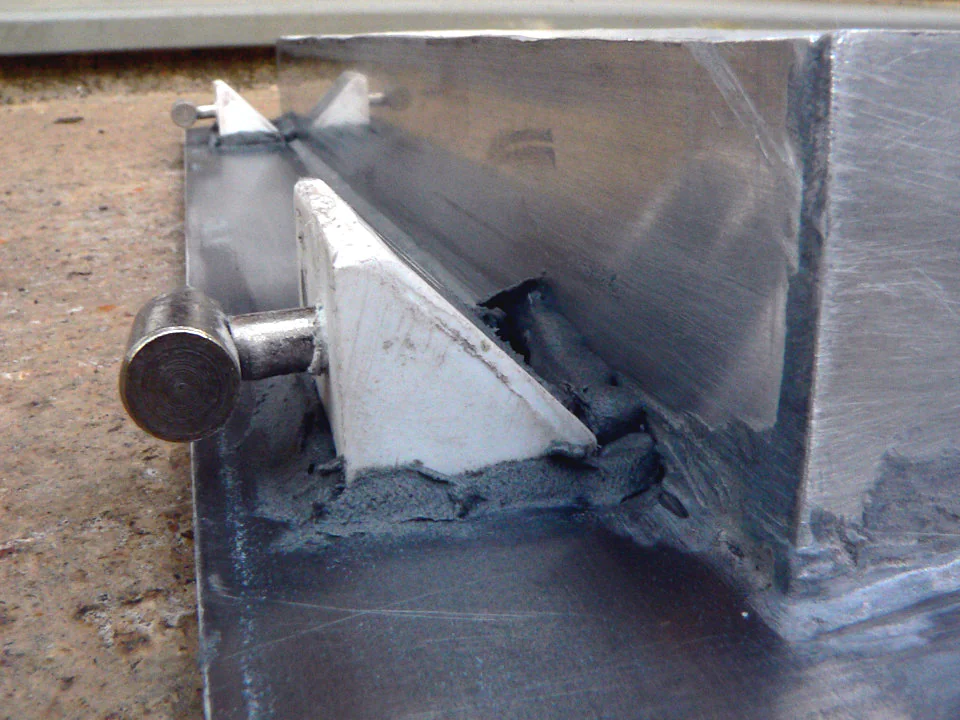
So now onto the hinges. I sanded and cleaned up the side panel, but I don’t seem to have a photo of it. So you’ll just have to accept that I did it. The door and panel were held in place by my brother while I used a hot glue gun to attach the hinges. Unfortunately, they fell off the door almost instantly, and I had to do them twice: the metal is too smooth I think. Anyway, that’s a moot point because I’m putting the chemical metal around the hinges.2
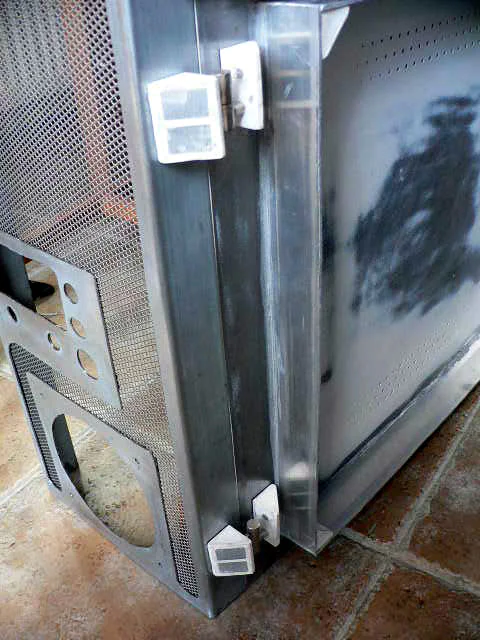
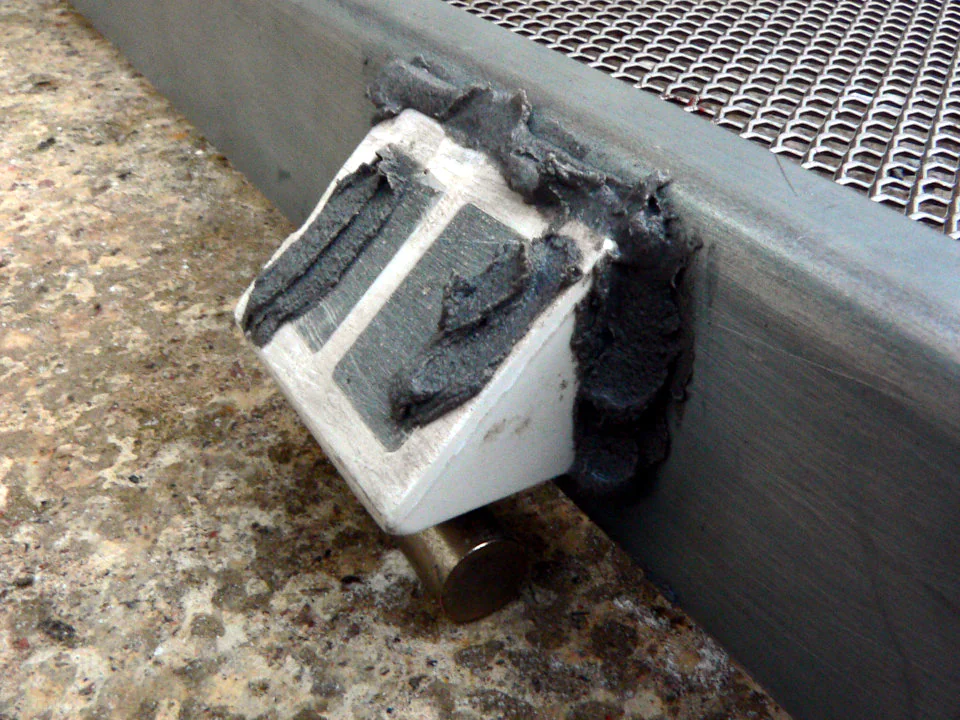
Finally, I installed the chemical metal and left it to dry. Here’s some pics of it. It looks a mess now, but I’m hoping for great results when I’ve sanded it down.
Then I got busy with the soldering iron. I removed the button from one DVD drive, and installed in its place 2 brightly coloured wires (red and orange). This is it desoldered…
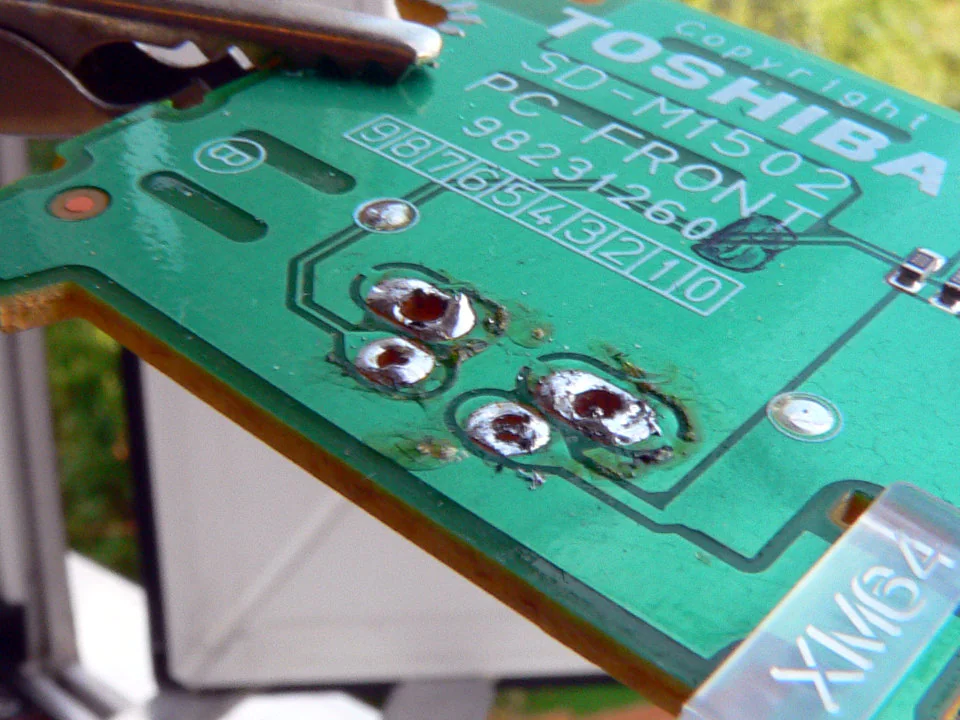
…and after I attached the wires again…
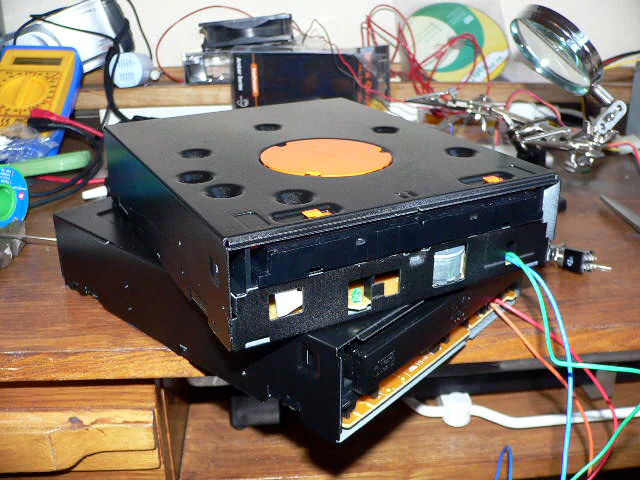
…and re-assembled.
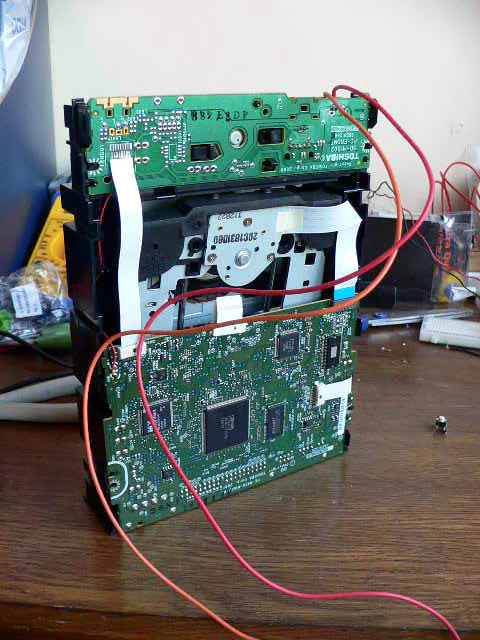
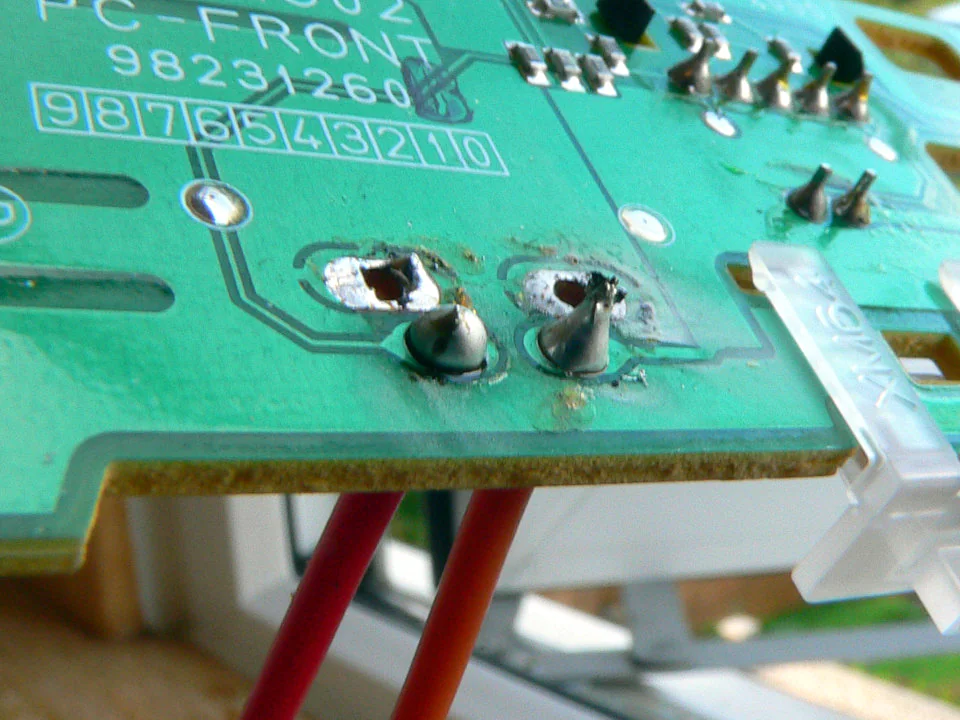
I did the same to the other more expensive DVD rewriter, but there was a problem; by this point, the iron had become dirty and the solder wouldn’t flow. The traces may be damaged and I haven’t got a clue about how to fix it. It’s a problem I’ll get around to fixing. Either way, here the drives are!3
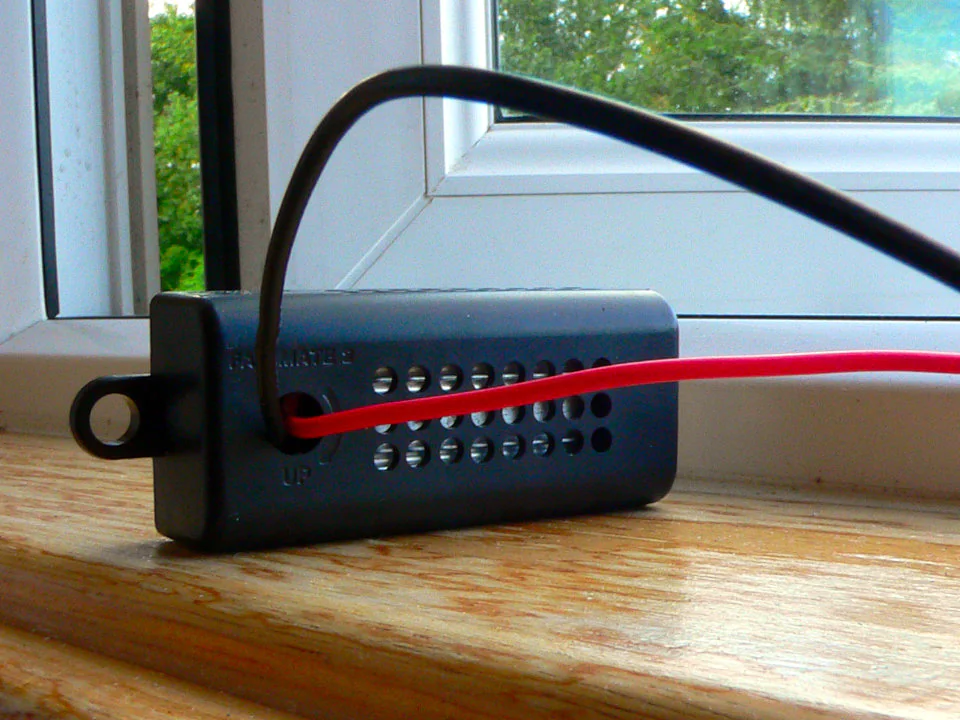
I’ve also finished modifying my Zalman Fanmate, although I’ve run into a problem. I was certain that I had 2 Zalman Fanmates, but I only have one, so I’ll need to make my own circuit for the other dial, which is going to be a little messy most likely.
First off, I removed the pot that I burned out earlier.
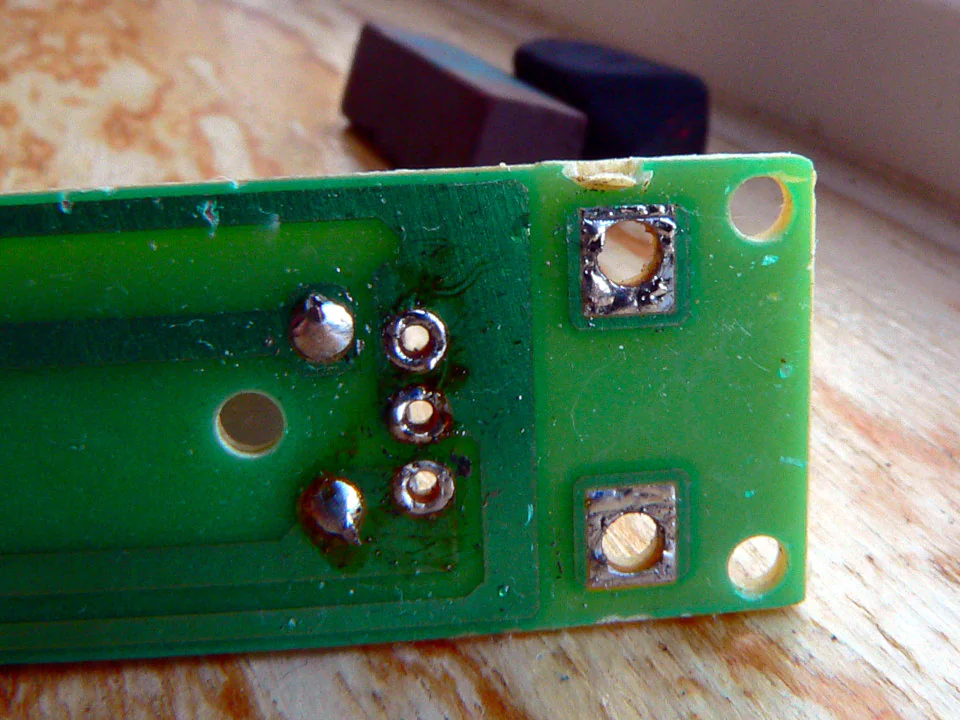

Then, I attached some wires. Red and Black seemed to suit the mood.

Then I finally re-attached the housing. It looks alright, if I do say so myself.
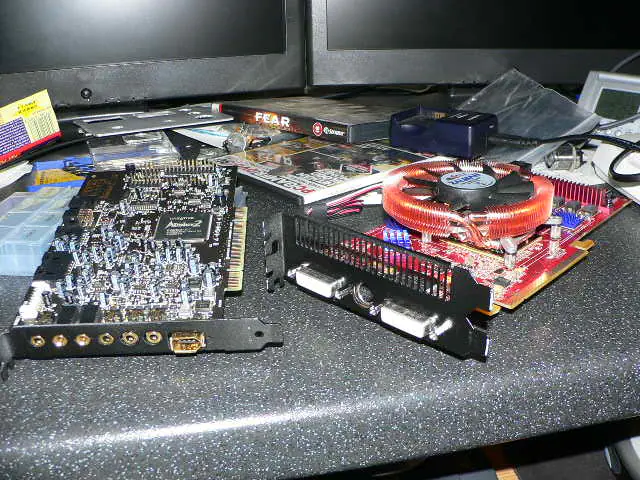
Finally, at the end of the night, I started putting my cards back together. But I only got as far as setting up the Zalman GPU cooler. It’s not as tricky as it’s made out to be, and if I can ever get a freaking minute, I’ll do a review on the front page for it.4
And I re-attached the backplates to my cards, as you can see here. It’s not a great photo, they’ll look better when installed.
So it’s a disaster again. I never checked that the Zalman Power Flower would sit nice with the rest of my hardware. It doesn’t. Damn.
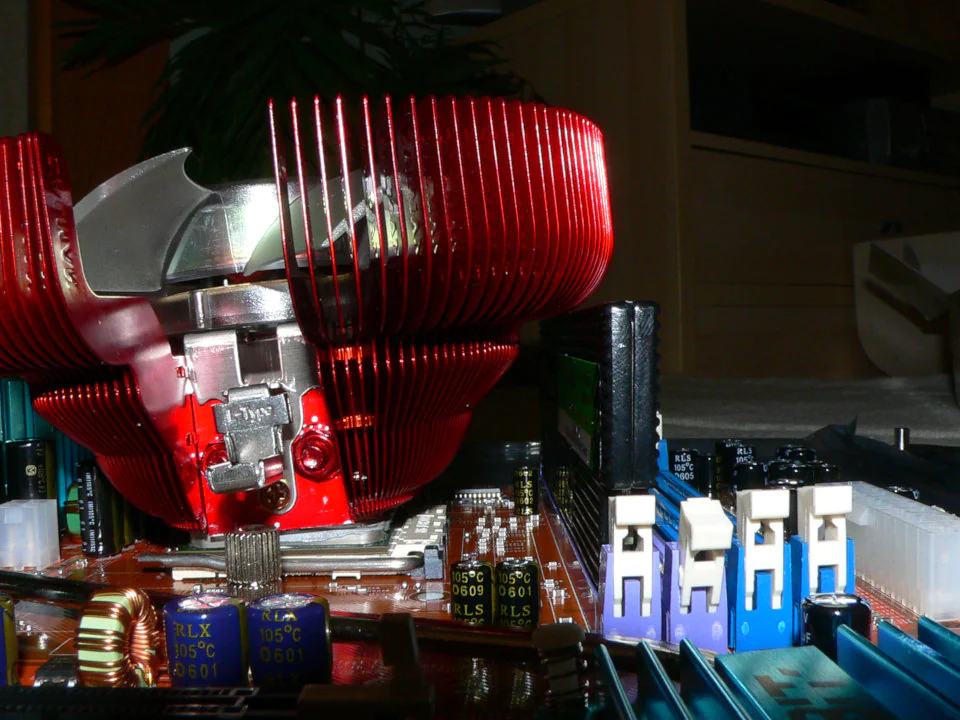
I’ve ordered in a new zinc-coated Zalman fan. I think that will be interesting as it will go with the brushed aluminium. I’m preparing to paint the rest of the surfaces soon, and I’m getting there with the fan grilles too.
Questions
I have this brand around… stay away…
There’s nothing actually wrong with the brand, it’s just that this product sucks when it comes to case modding. Wish I could get my hands on some proper Bondo, but I can’t find it in the UK anywhere.
LOL lovin the solder sucker. did you get that in a Real Robots kit? Cos I got one just like it.
Heh… yes. It’s my brothers but I’ve stolen it.
One thing a can add is that it would be nice if you could stealth the hinge
I wanted to stealth it, but it would have been so difficult. I eventually decided, why not make a feature out of it? I’m hoping it will look sweet when it’s all finished up.
For fixing the ruined trace, use a piece of solid wire (copper preferably) bent to the shape of ruined trace and solder in place. If need be tac it down with superglue when you are done.
To clean the soldering iron, heat it up and clean with steel wool, touch some solder to it, then wipe it on a wet sponge before and after every solder you make. This will ensure clean solid solders that look good and will last. Remember if it is not shiny it will not last.
Thanks for the advice. I need a bit of help with soldering to be honest! I’ve got a damn PIC board to build, and how I’ll do it, I don’t know.5
-
Concise. ↩
-
This didn’t work, and had to be redone later. ↩
-
It’s clear I have no idea what I’m doing here. ↩
-
At this point in time I was pretty involved in running the website where I posted this originally. Also, at the time, Zalman stuff had a reputation for being awkward to install. ↩
-
I might still have this somewhere, but we’ve come a long way since then with Arduino and the Raspberry Pi. ↩