
TIP-3000
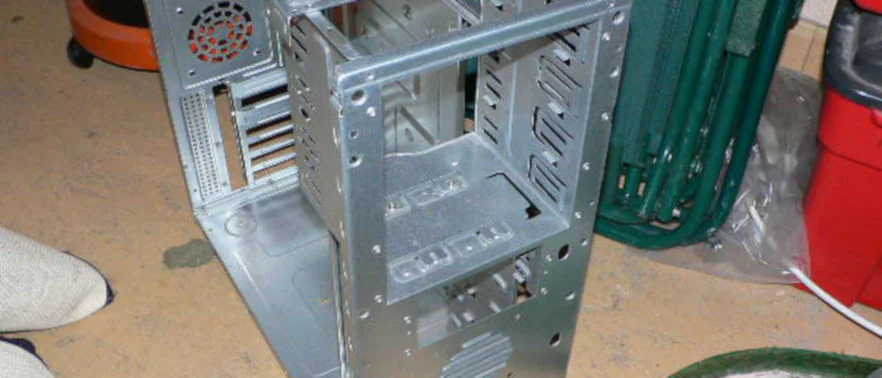
The first entry in my worklog for the TIP-3000 case mod, where I present my plans and do some minor cutting work on a PSU.
In this post I go into details about the plans I have for the TIP-3000.
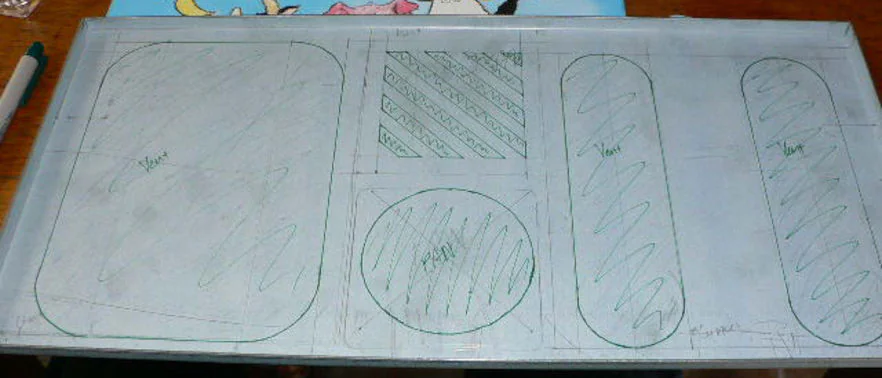
I draw out the plans and cutting lines for the left-side panel and top of the case.
I draw out the plans and cutting lines for the left-side panel and top of the case.
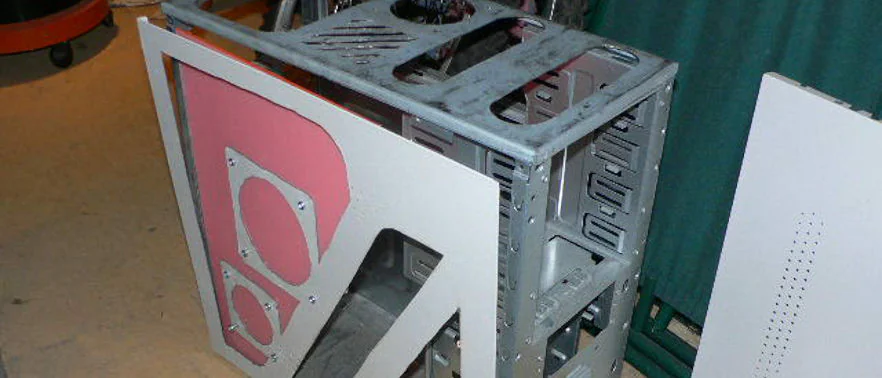
I cut the side and top panels for the TIP-3000 and run into a few issues with the Jigsaw.
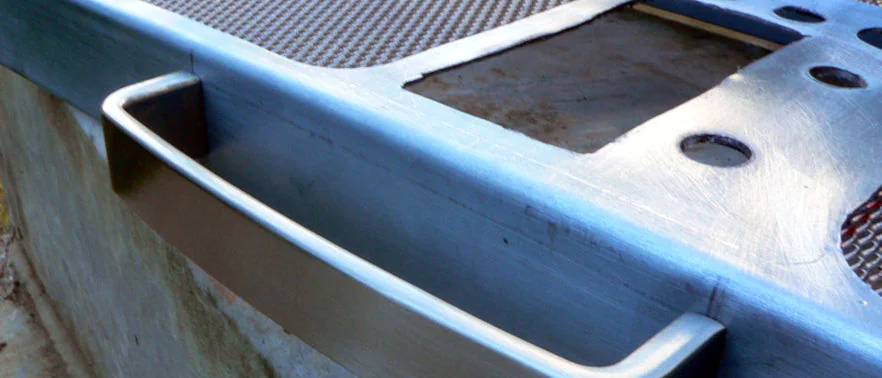
I clean up the edges of the cuts to the side and top panels while trying to figure out what to do about the warping caused by the jigsaw.
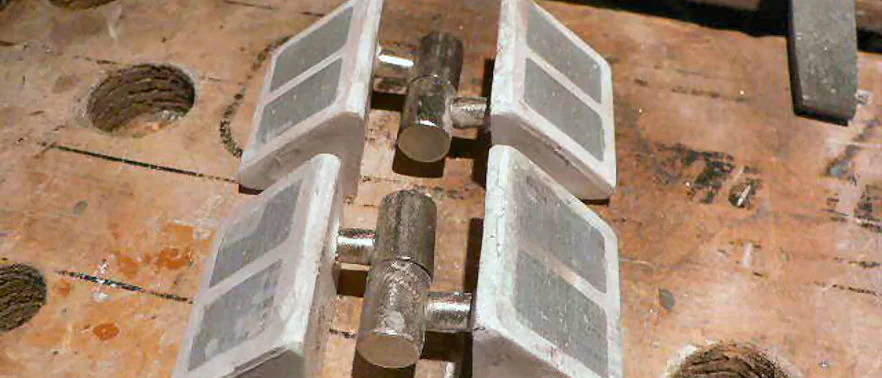
I try and attach the side panel rails to the top panel using chemical metal.
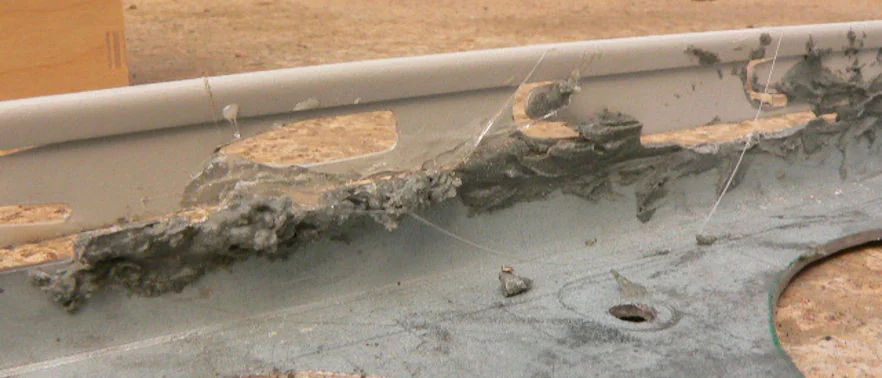
I tried to clean up the mess created in my application of a “chemical metal” product used to attach the rails for the side panels.
I try to clean up the mess I created when I tried to clean up the previous mess.
A small update after a run of bad luck.
My new parts arrive and I go into my plans in more detail.
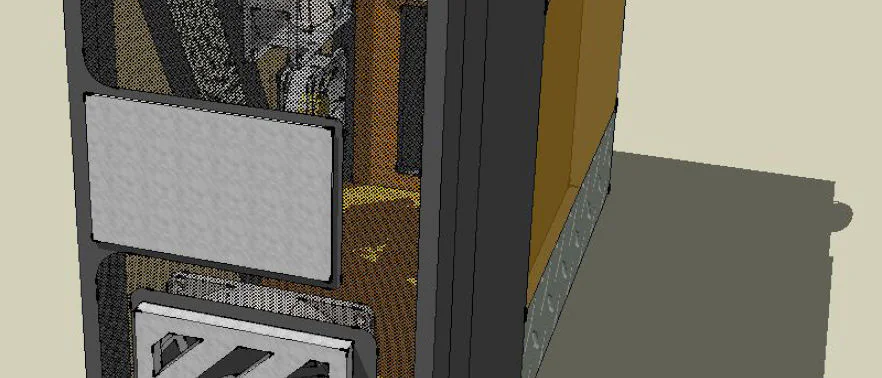
In this update I present the design for the front panel of the case.
A partial updating that gives a preview of several things in progress, including the front control panel.
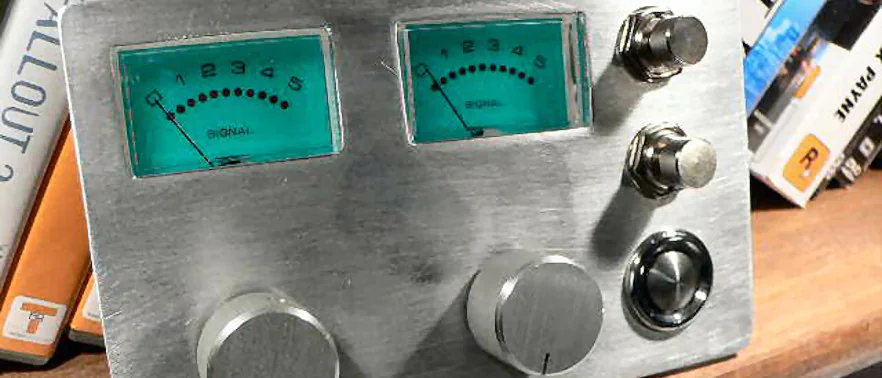
I show off the assembled front panel, discuss the ways that I’ve deviated from my plans, and detail the construction of the side panel.
I start constructing the side panel and cutting the front panel.
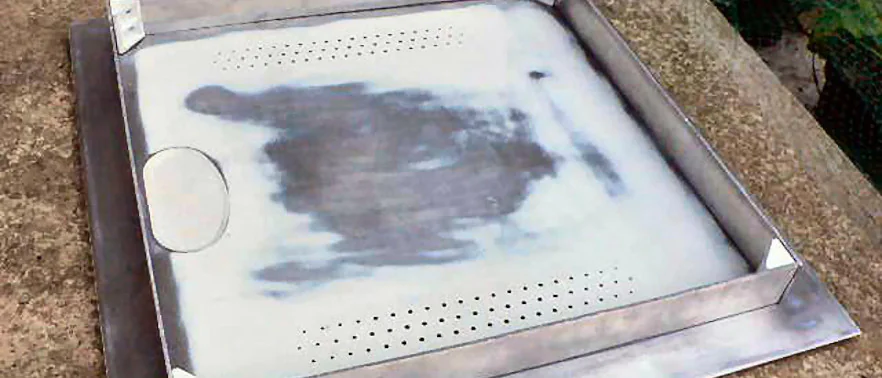
Incremental progress assembling the front panel and making plans for ventilation.
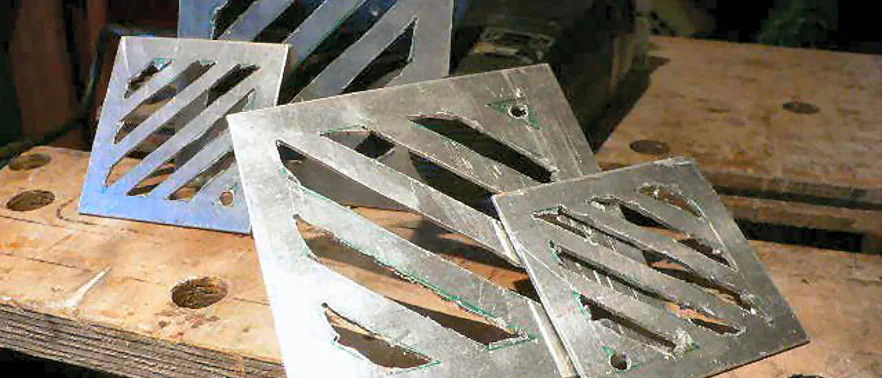
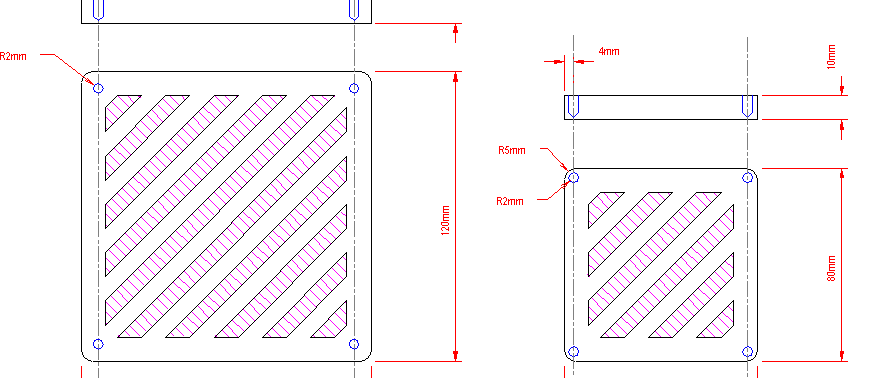
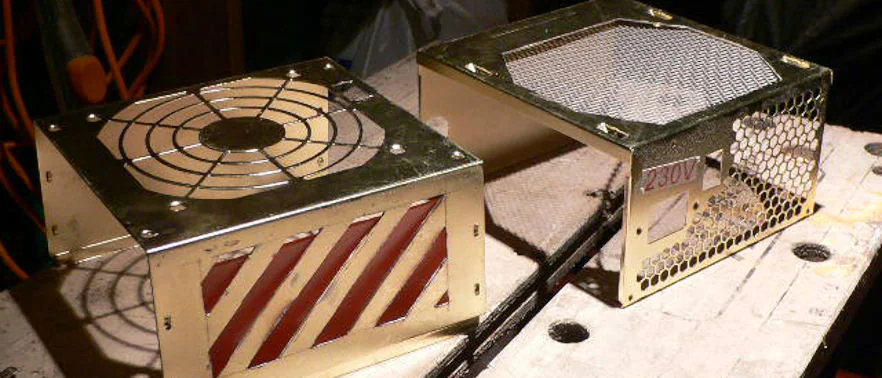
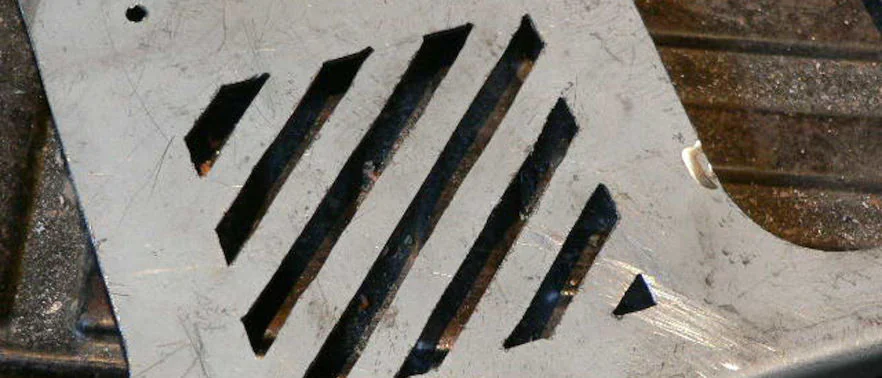
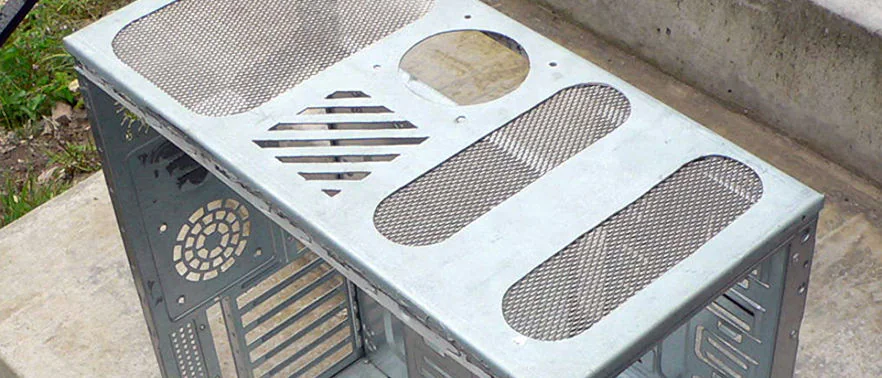
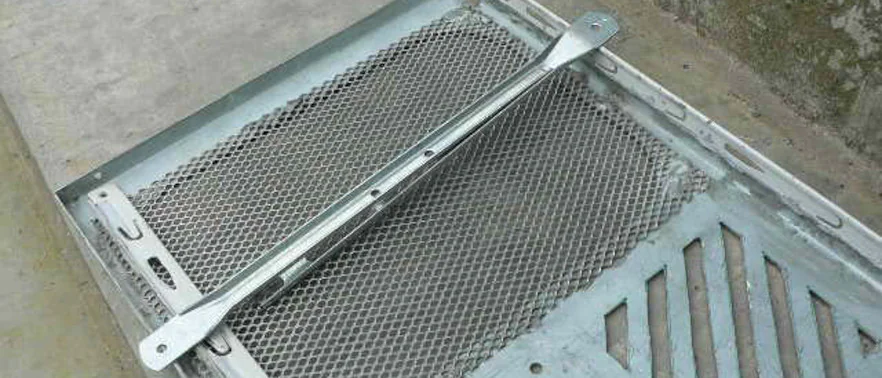
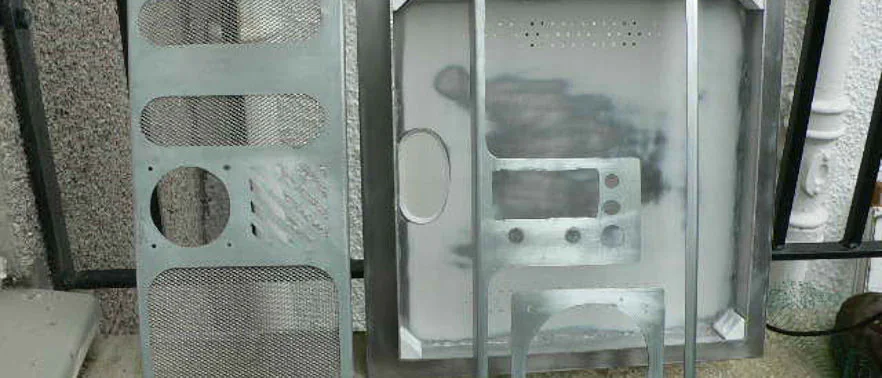
In which I cut the fan grilles, one of the defining features of the TIP-3000.
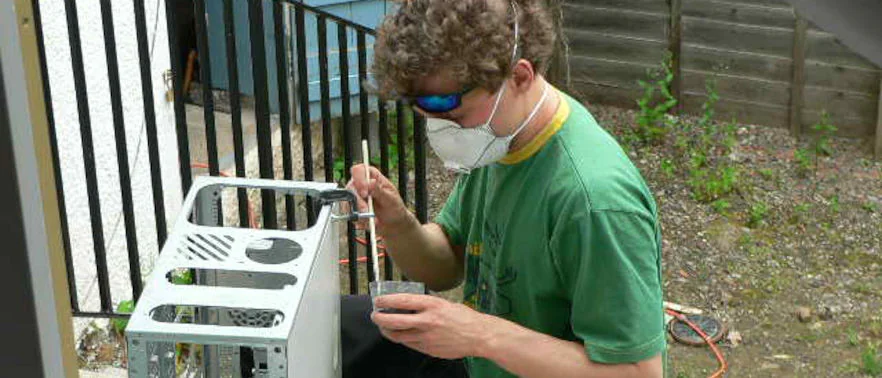
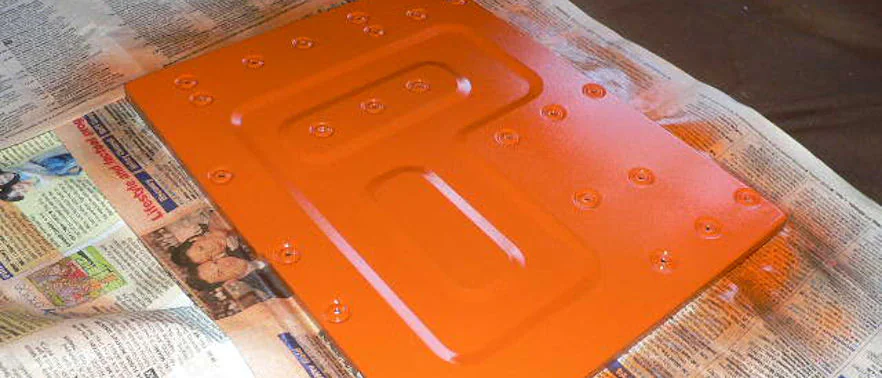
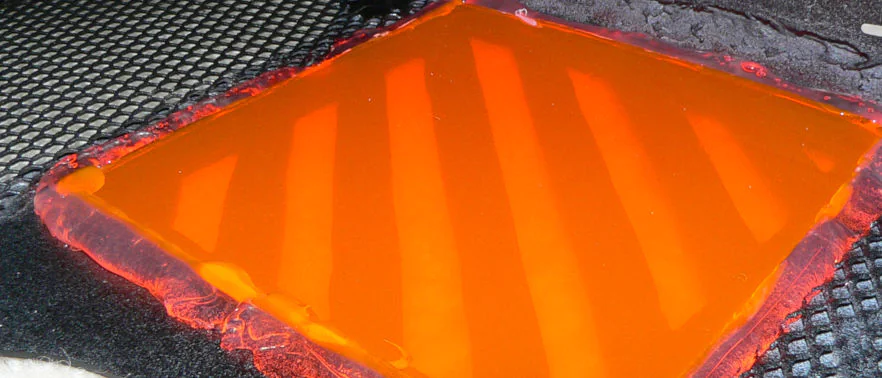
A series of unfortunate events while trying to paint makes it clear that I’m really just blundering my way through this whole thing.
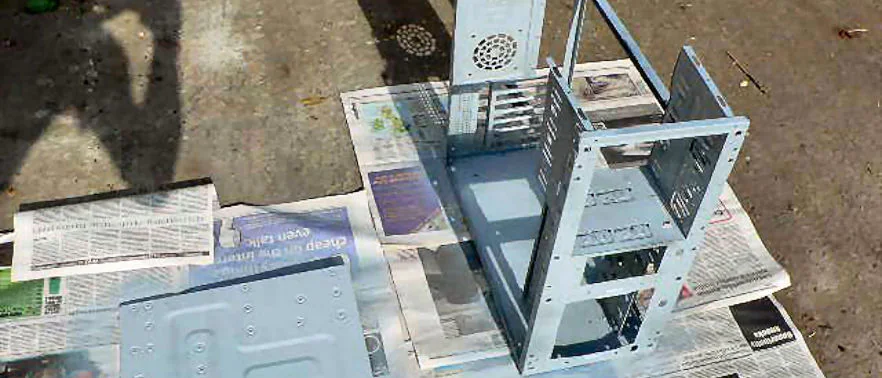
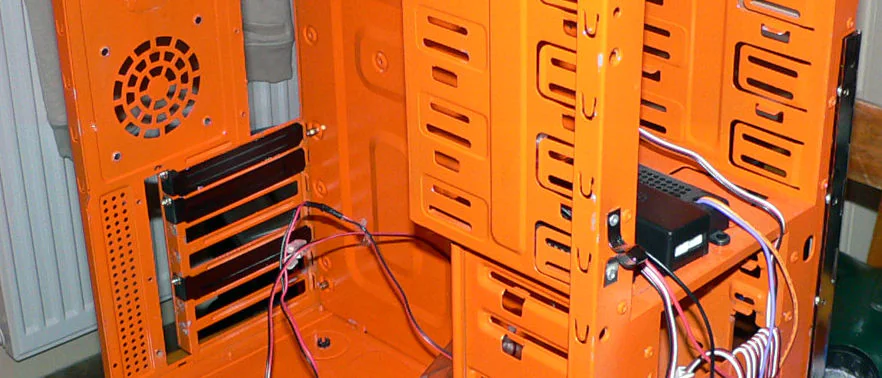
Applying the second coats to the inner parts of the case.
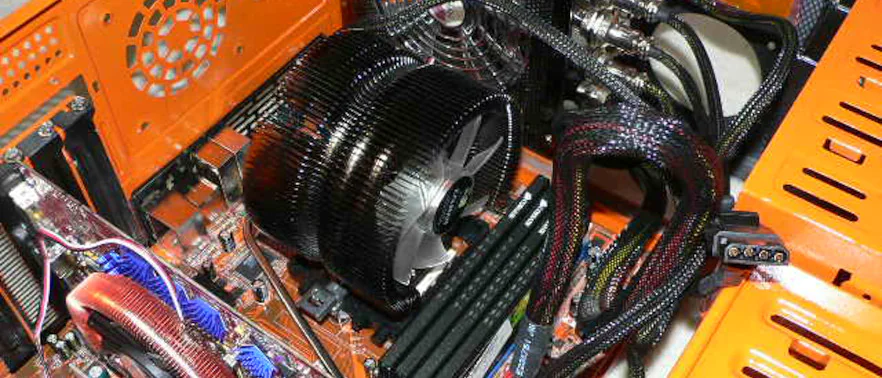
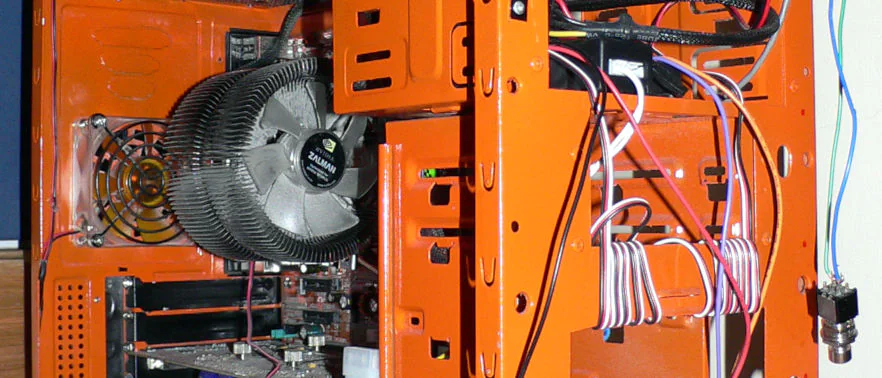
In this update I’m starting to make significant progress on a bunch of different parts of the computer. Things are really starting to come together.
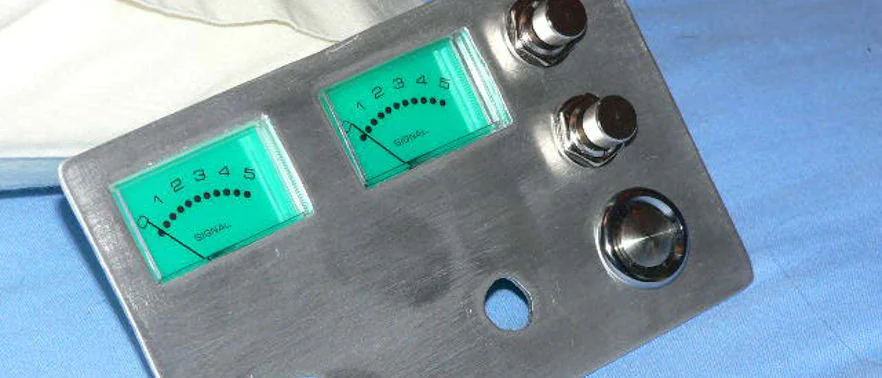
In this update I do some minor work on the front panel of the case and attempt to make hinges. I also spend a bunch of time breaking working electronics so I can move their buttons onto a control panel.
In this update I start the actual assembly of the computer and install a piece of plexiglass in the top panel.
Assembly of the case continues in this update alongside the construction of the left side panel.
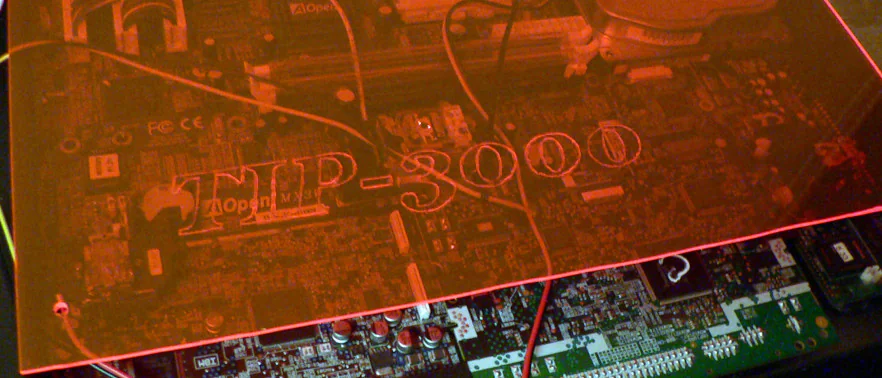
In which I practice my etching and finish up a key part of the side panel.

Continued assembly of the case, lots of polishing and glue.

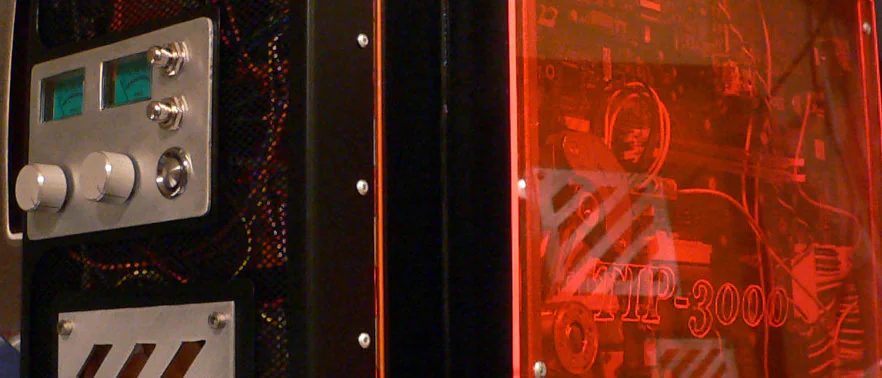
The final assembly is complete.
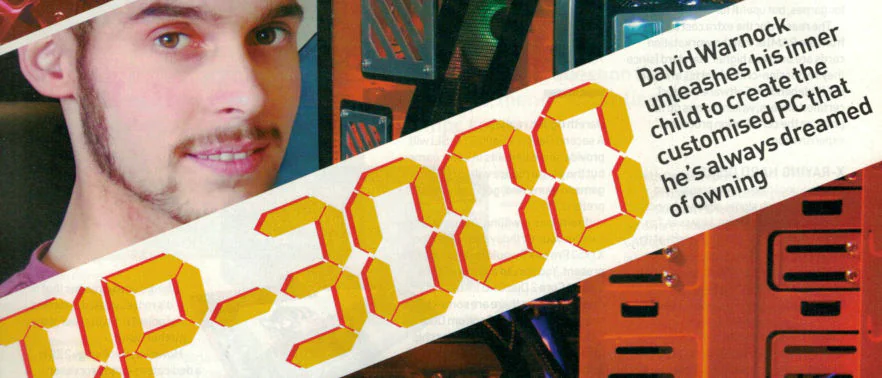
After I had finished building the TIP-3000, I submitted it to Custom PC’s “Reader’s Drives” competition. I wasn’t actually expecting much but they quickly got in touch with me and told me that I had won.
This is the first entry in my attempt to regenerate the TIP-3000, which had sustained damage over time. Most of the damage was just wear-and-tear from my amateurish work building the thing in the first place.
In this update I clean out the case and work towards fixing the door.
This is the final entry in the TIP-3000 story. Originally published after a long delay, it shows the end of my efforts to fix the case and its eventual retirement.