
TIP-3000
Side Panel Planning
Ok, so first off, a nice pic of my new Dremel and associated parts.
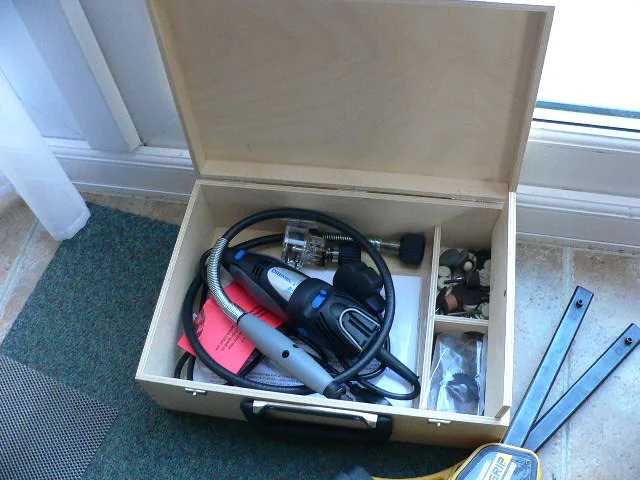
Quite nice, no? Right! Now onto business. I had a new front panel, a top panel and the front panel for Stage 2’s Fallout box all cut and folded out of that zintec stuff at 1.2mm. I really, really owe it to the nice guys at Howarth Switchgear for all they’ve done for me. First off, they made my parts perfectly. Absolutely perfectly-in one day. Not only that, but when I went to visit them, they gave me some mesh and aluminium scraps for free, and then they showed me around the factory where they make everything, and do powder coating, etc. On top off all this they gave me a ‘student rate’, so the whole thing came to £25.20. The very least I can do in return is wing a little promotion their way. They ship all over the UK, so if you want something cut, these guys are absolutely great.
I haven’t got a photo of my parts, and that’s boring anyway, so straight onto work! I drew out the cuttings for my side panel here.
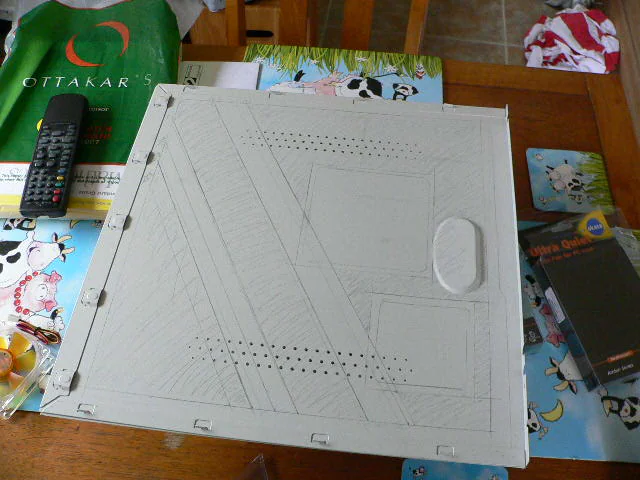
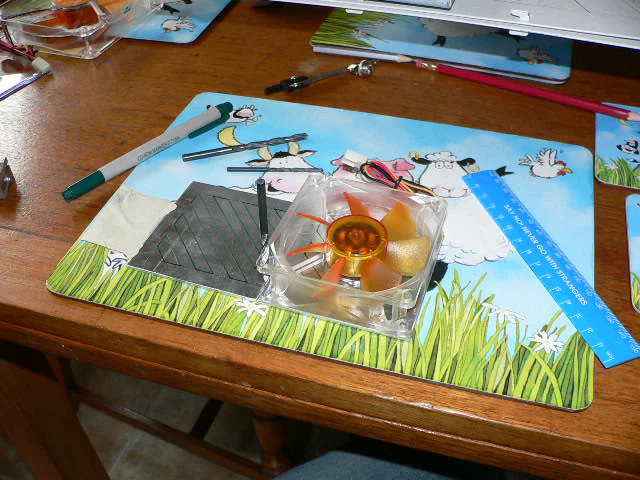
I just drew this in pencil, then I went over it with a CD marker pen. Some sugar soap removed most of the pencil, so the lines won’t confuse me when I cut. Then, to get a feel for how it would look, I placed the fans in their positions.
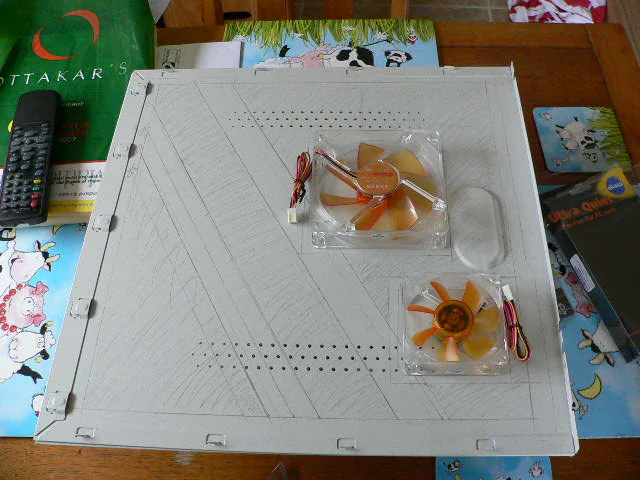
I did a similar thing on the top. To draw out my plans I used set squares, compasses, different pencils, etc. If you want to know the techniques for drawing something, like a curved corner, just ask and I’ll cover it next time.
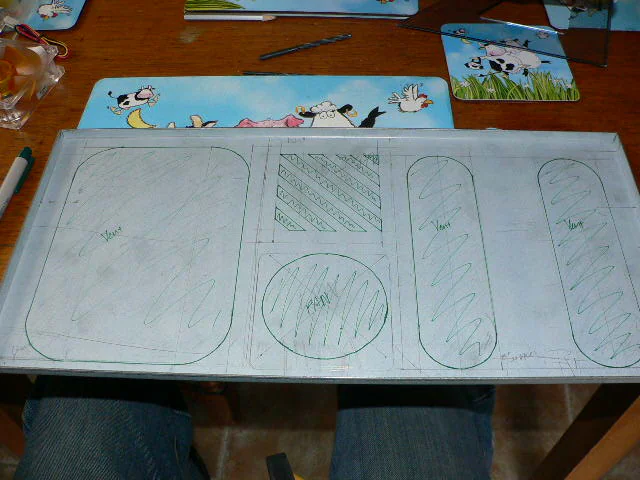
Now to make my vents! Like I said, the nice guys at Howarth Switchgear already cut the aluminium to the right size for me, so all I had to do was mark it. It drew the pattern on in pencil and covered it with CD marker. Then, as I wanted to make sure that the fan holes were perfect, I took a drill bit and used it to mark the soft aluminium beneath (see the picture below). When this was done, I marked the dots in with the marker. Hopefully this will produce a nice set of holes for the screws.

Anyway, that’s all for now; these photos are actually out of date, but I can’t get the rest of my photos yet because I left my USB lead in Edinburgh last week. I had to do all sorts of tricks to get these ones!
I had an accident today as well; I was cutting perspex when my goggles steamed up. I put them on my head when I stopped drilling to inspect my work; then I immediately forgot I had done so, and continued drilling. Pretty much instantly I got an eyeful of melted perspex. So let this be a major lesson to all of you!
I’ve got enough material for a couple more posts, but I’ll spread them out for a while. I mean, you don’t really want to see a photo off every cut, right? That’s why they skip all the actually work in Pimp my Ride, though in this case, it’s Pimp my Rig. Calling it that makes my mates laugh, I don’t really see why…
Oh, and I’m trying to come up with a logo to go with this. I was thinking something related to danger, something that screams out “This computer can and will kick your ass if you mess with it”. As there’s a pseudo-industrial theme to the case, I was thinking of something along the lines of warning signs, if anyone can think of a particularly interesting one; I’d love for anyone with too much free time to sketch some ideas to try and inspire me. Technical drawing I can do, but apart from that, I’m crap with the art.
Well dudes, I’m off for the night. As usual, it’s 1:10am, and here I am. I really need to get a life, eh? I’m laying into getting this done as hard as I can: my exams are only a month away, and I’d like stage 1 complete within the next week. Catch you later!
Questions
I was wondering why these parts have to be made of metal?
The case is made of a variety of materials, and in the end, the mixture of materials is going to be pretty important. There’s a sort of ‘pecking order’ where it’s metal, going into mesh, going into plexi. Then matte black is my major colour, and glossy orange is my minor.